
Create test variants from prompts
Create test variants from prompts
Build an AI-powered A/B test variant by describing the change in plain English - no code required.
With CrowAI, you create an experiment by describing the change you want in plain English. CrowAI reads your page, writes the code, and shows you a working variant in minutes.
Step 1 : Create a new test
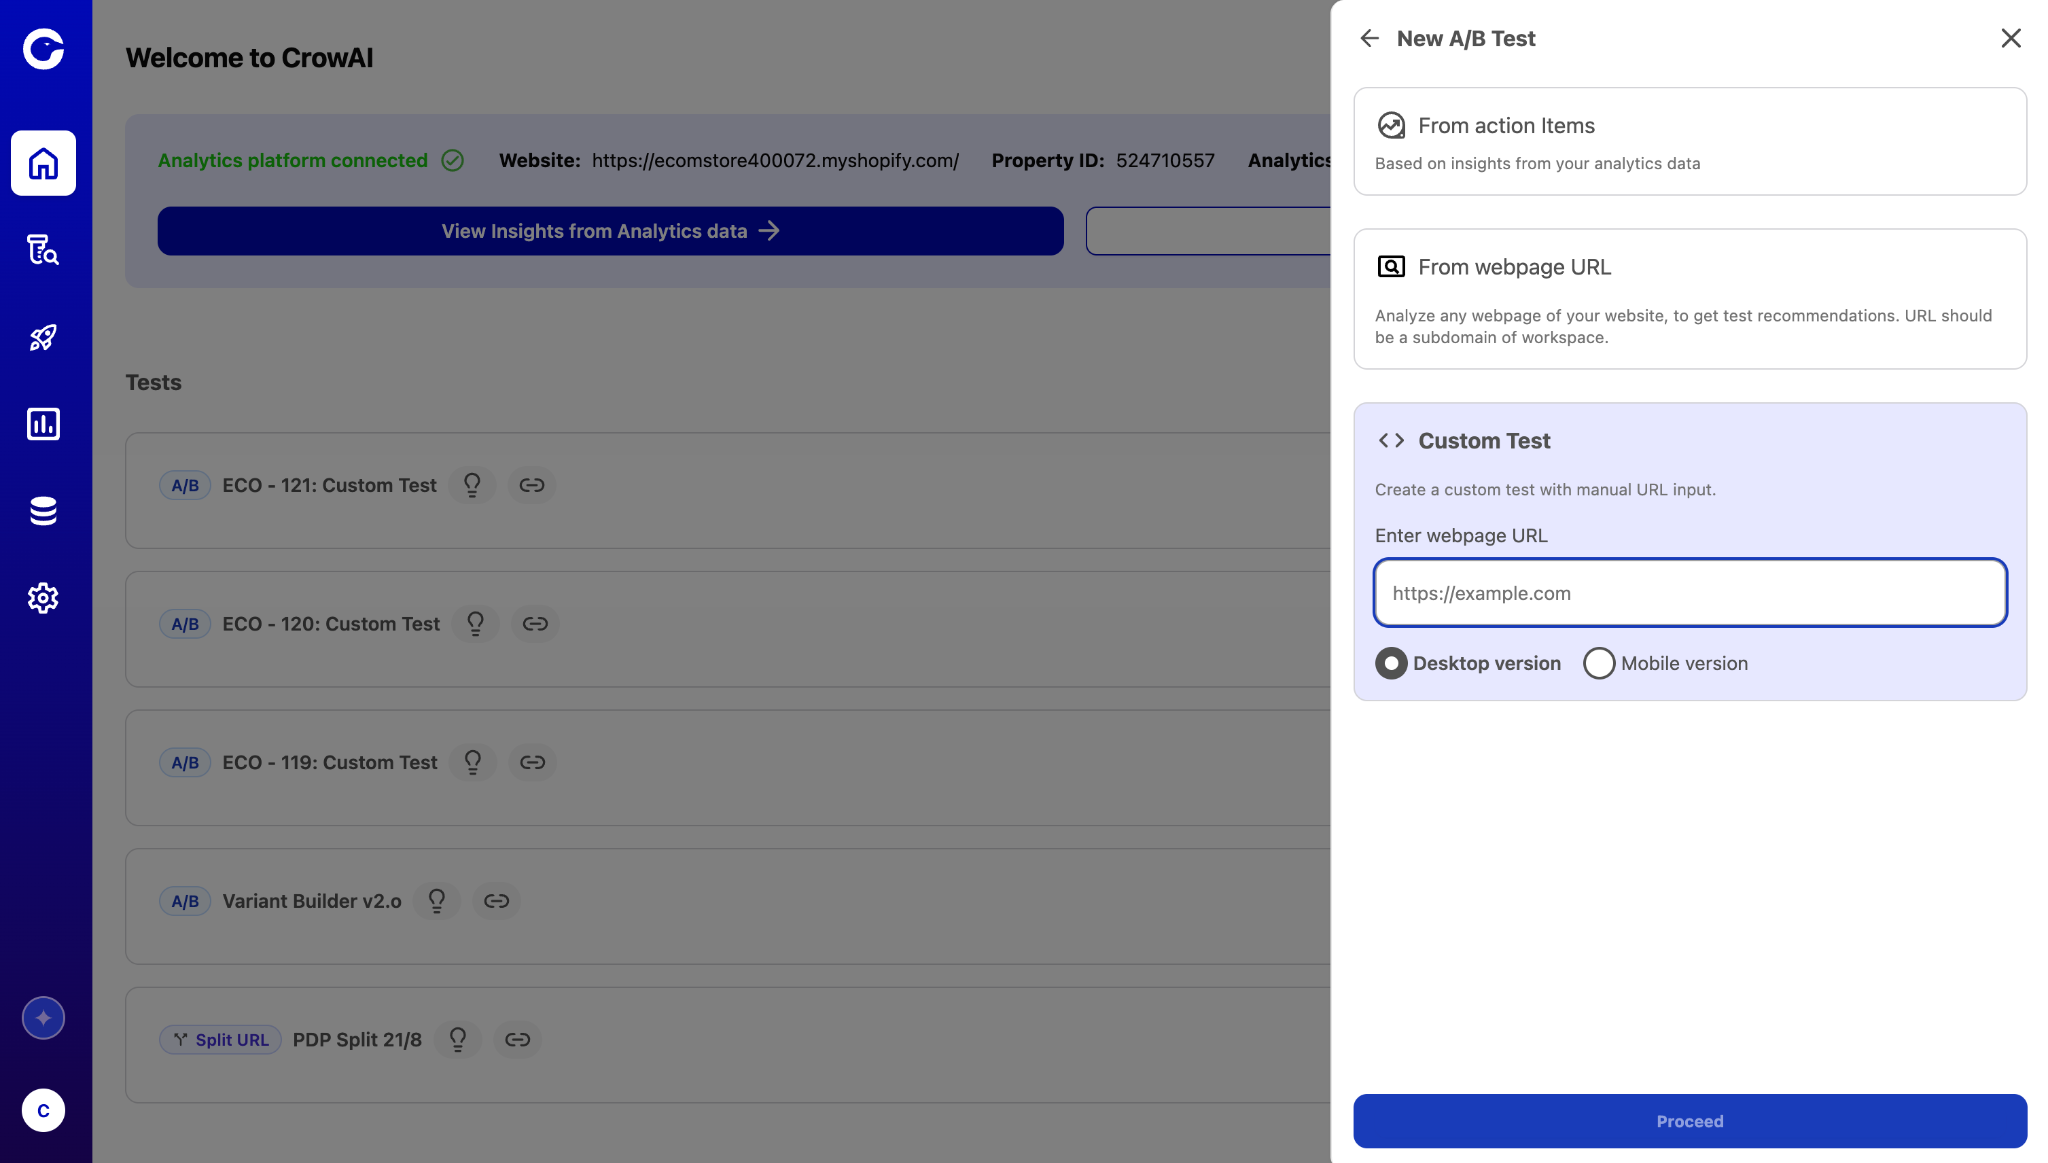
1. In the CrowAI app, go to New Test > A/B Test > Custom Test.
2. Enter the URL of the page you want to test.
3. Choose Desktop or Mobile.
4. Click Proceed.
Your page loads in the editor, with the chat panel on the side.
Step 2 : Write your prompt
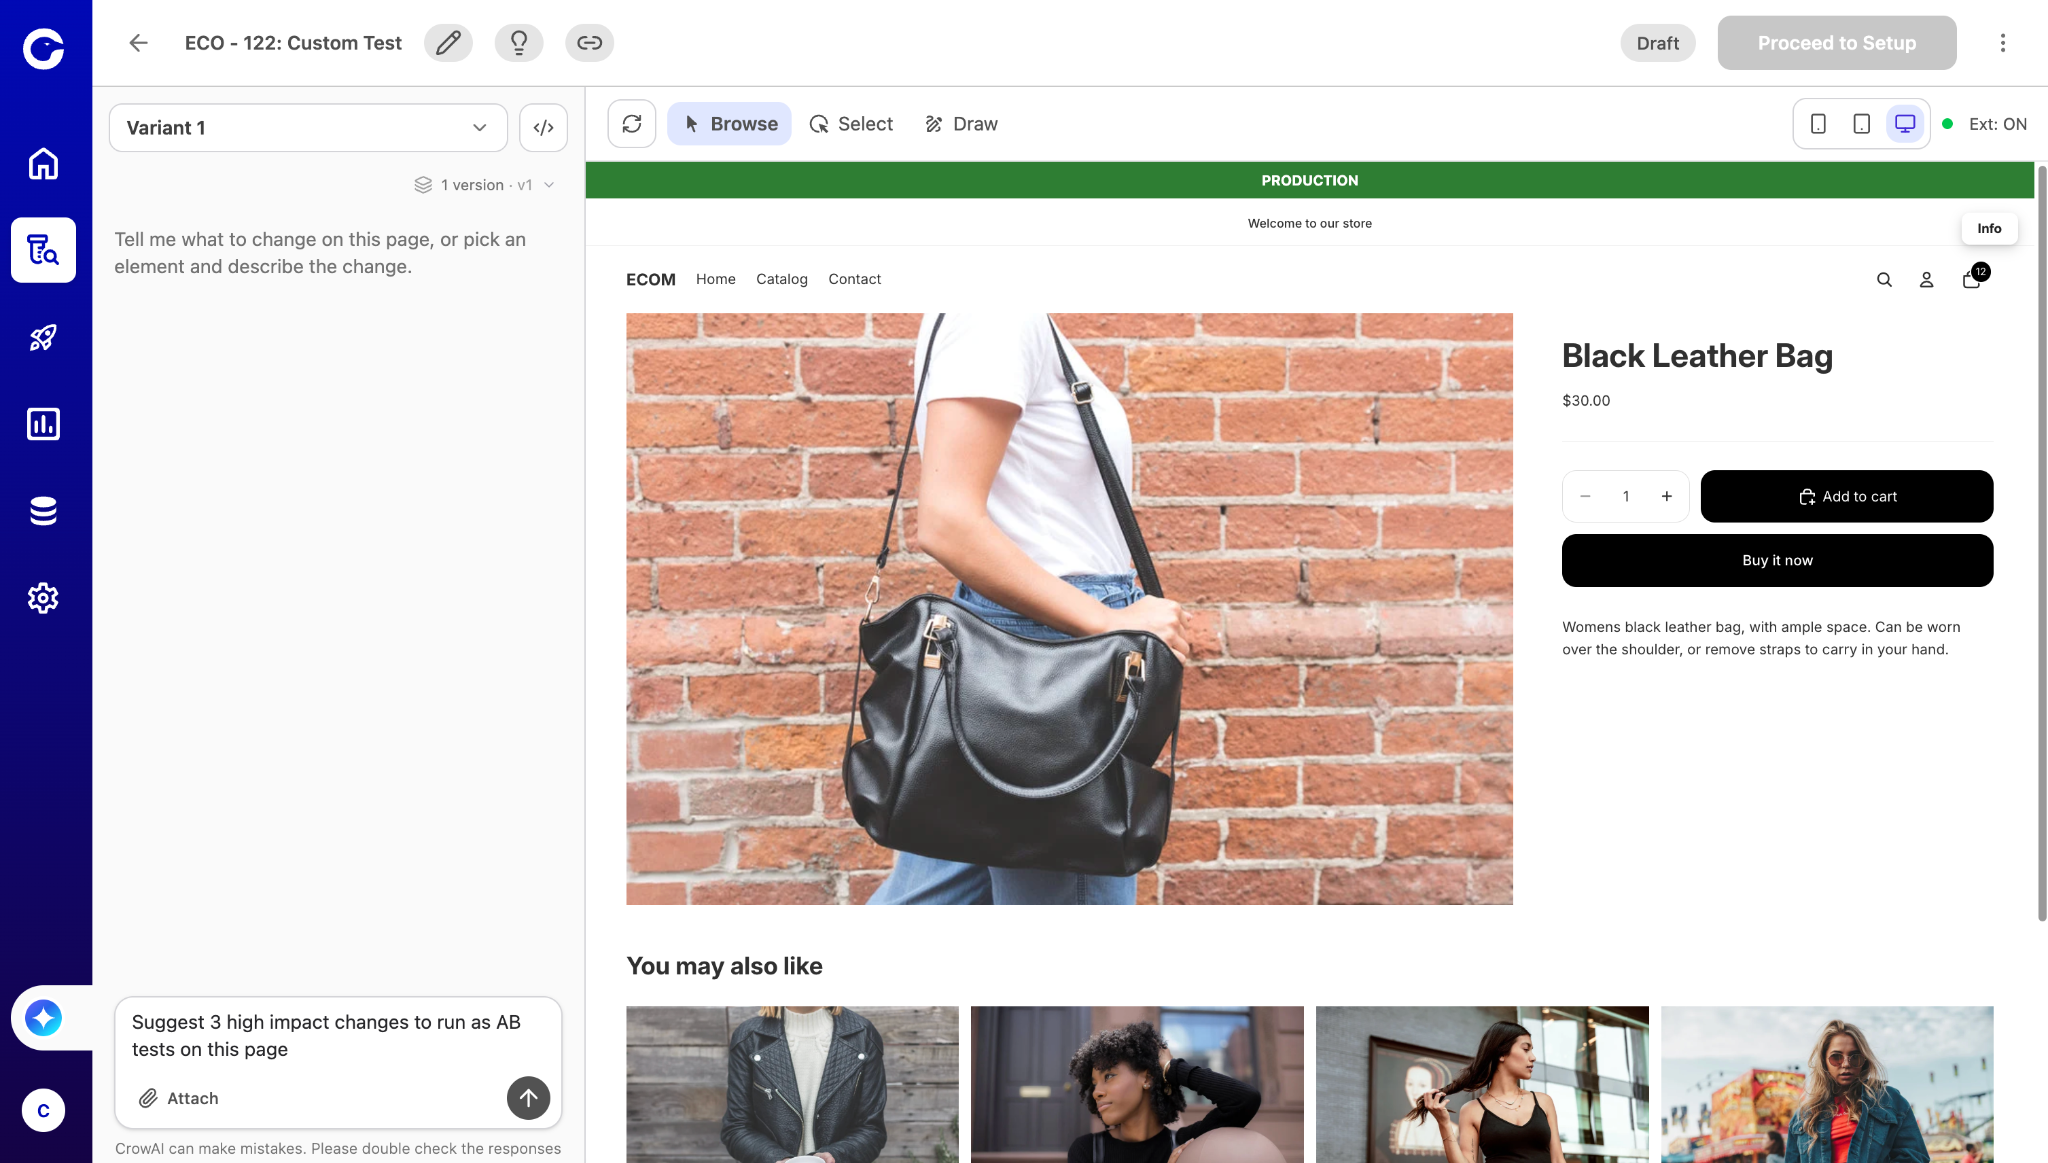
In the prompt field, describe the change you want.
Examples:
- "Suggest 3 high impact changes to run as AB tests on this page"
- "Add a section below the price, to communicate product USPs"
- "Make the add to cart button more visually prominent, and add a section to highlight customer reviews as social proof."
You don't need to describe your brand. CrowAI scans your site and visual assets to pick up your fonts, colors, imagery, and tone of voice, then matches them automatically.
Add images
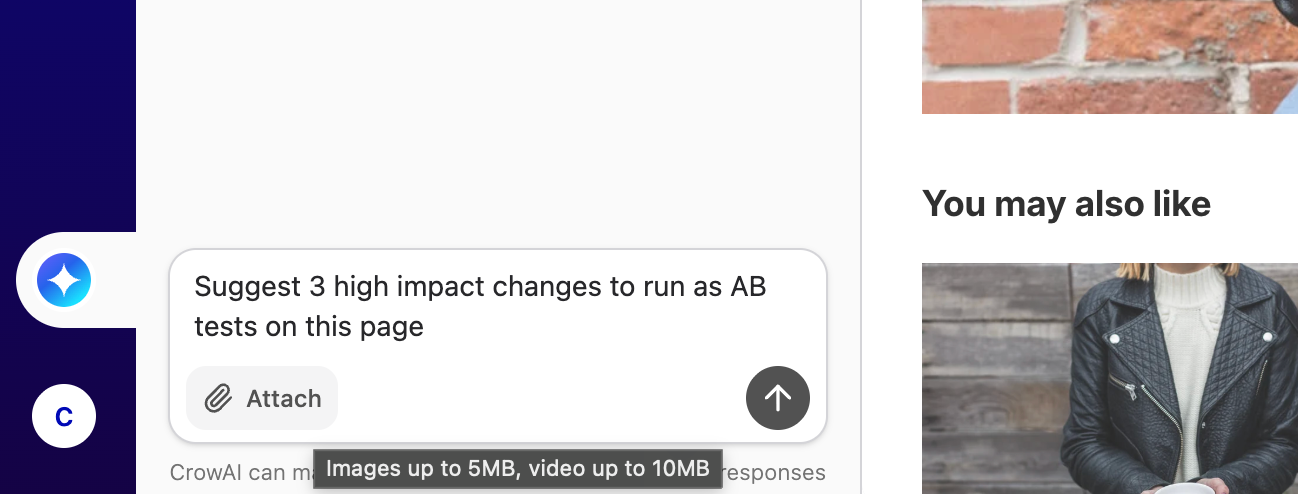
Click Attach > Select an image, or paste an image from your clipboard.
CrowAI works out how to use each image on its own - no tagging needed:
You can attach images to be directly added into the variant as is, or images that provide some visual context of the change you are prompting (screenshot of UI, image mockups from Figma, etc.)
Point to the right element
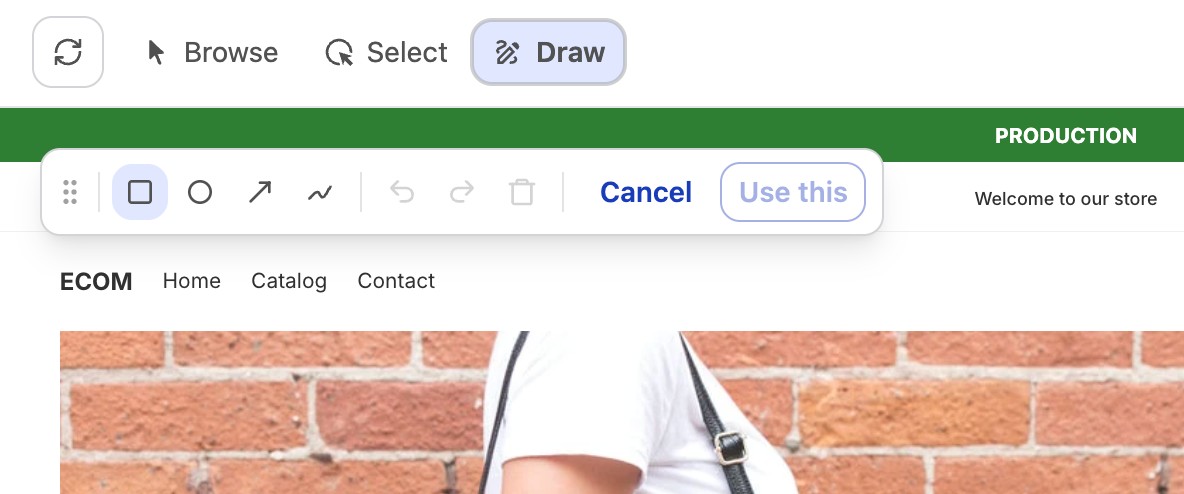
The preview iframe has 3 modes - browse, select and draw.
Use browse to navigate through the webpage preview.
Use select to select specific elements from the page, and edit them directly or through a prompt.
Use draw mode to visually communicate the context of the change you are making, through shapes and lines.
Note: You can only draw inside your current view. For anything further down
the page, describe it in your prompt instead.
Step 3 : Watch CrowAI build it
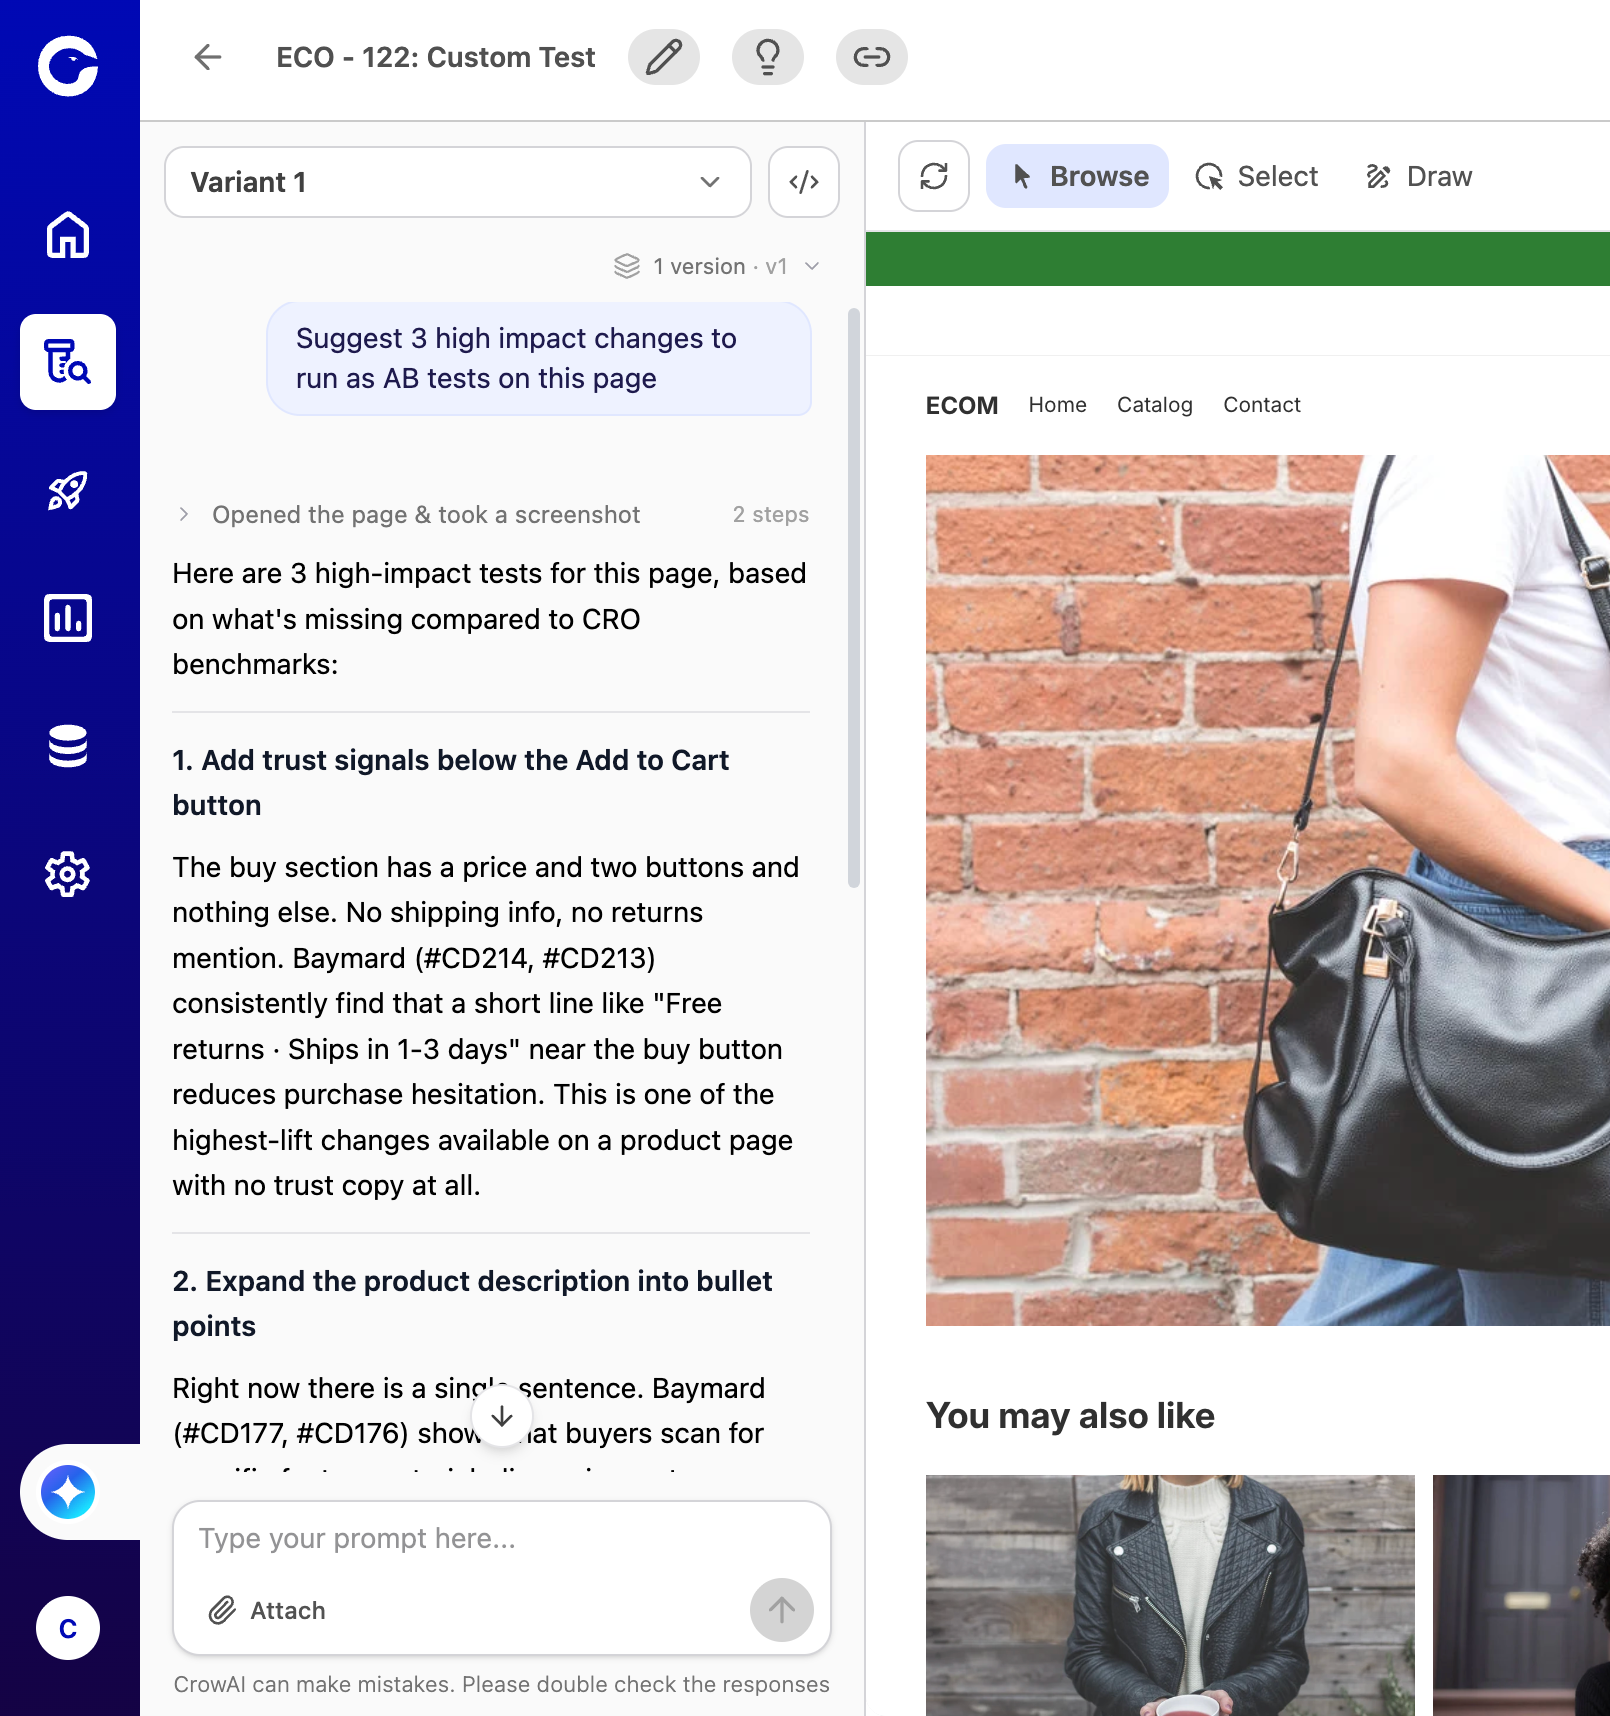
Once you submit, CrowAI gets to work and shows you every step as it happens - what it's doing and why, in plain language.
CrowAI can also open other pages while it works. That might be another page on your site, or an external one you want to borrow from. For example, "Replicate the search filter layout from this travel booking site: www.example.com/search"
If something is ambiguous - which image to use, what kind of copy you want -
CrowAI will ask before it guesses.
Step 4 : Review and edit the code
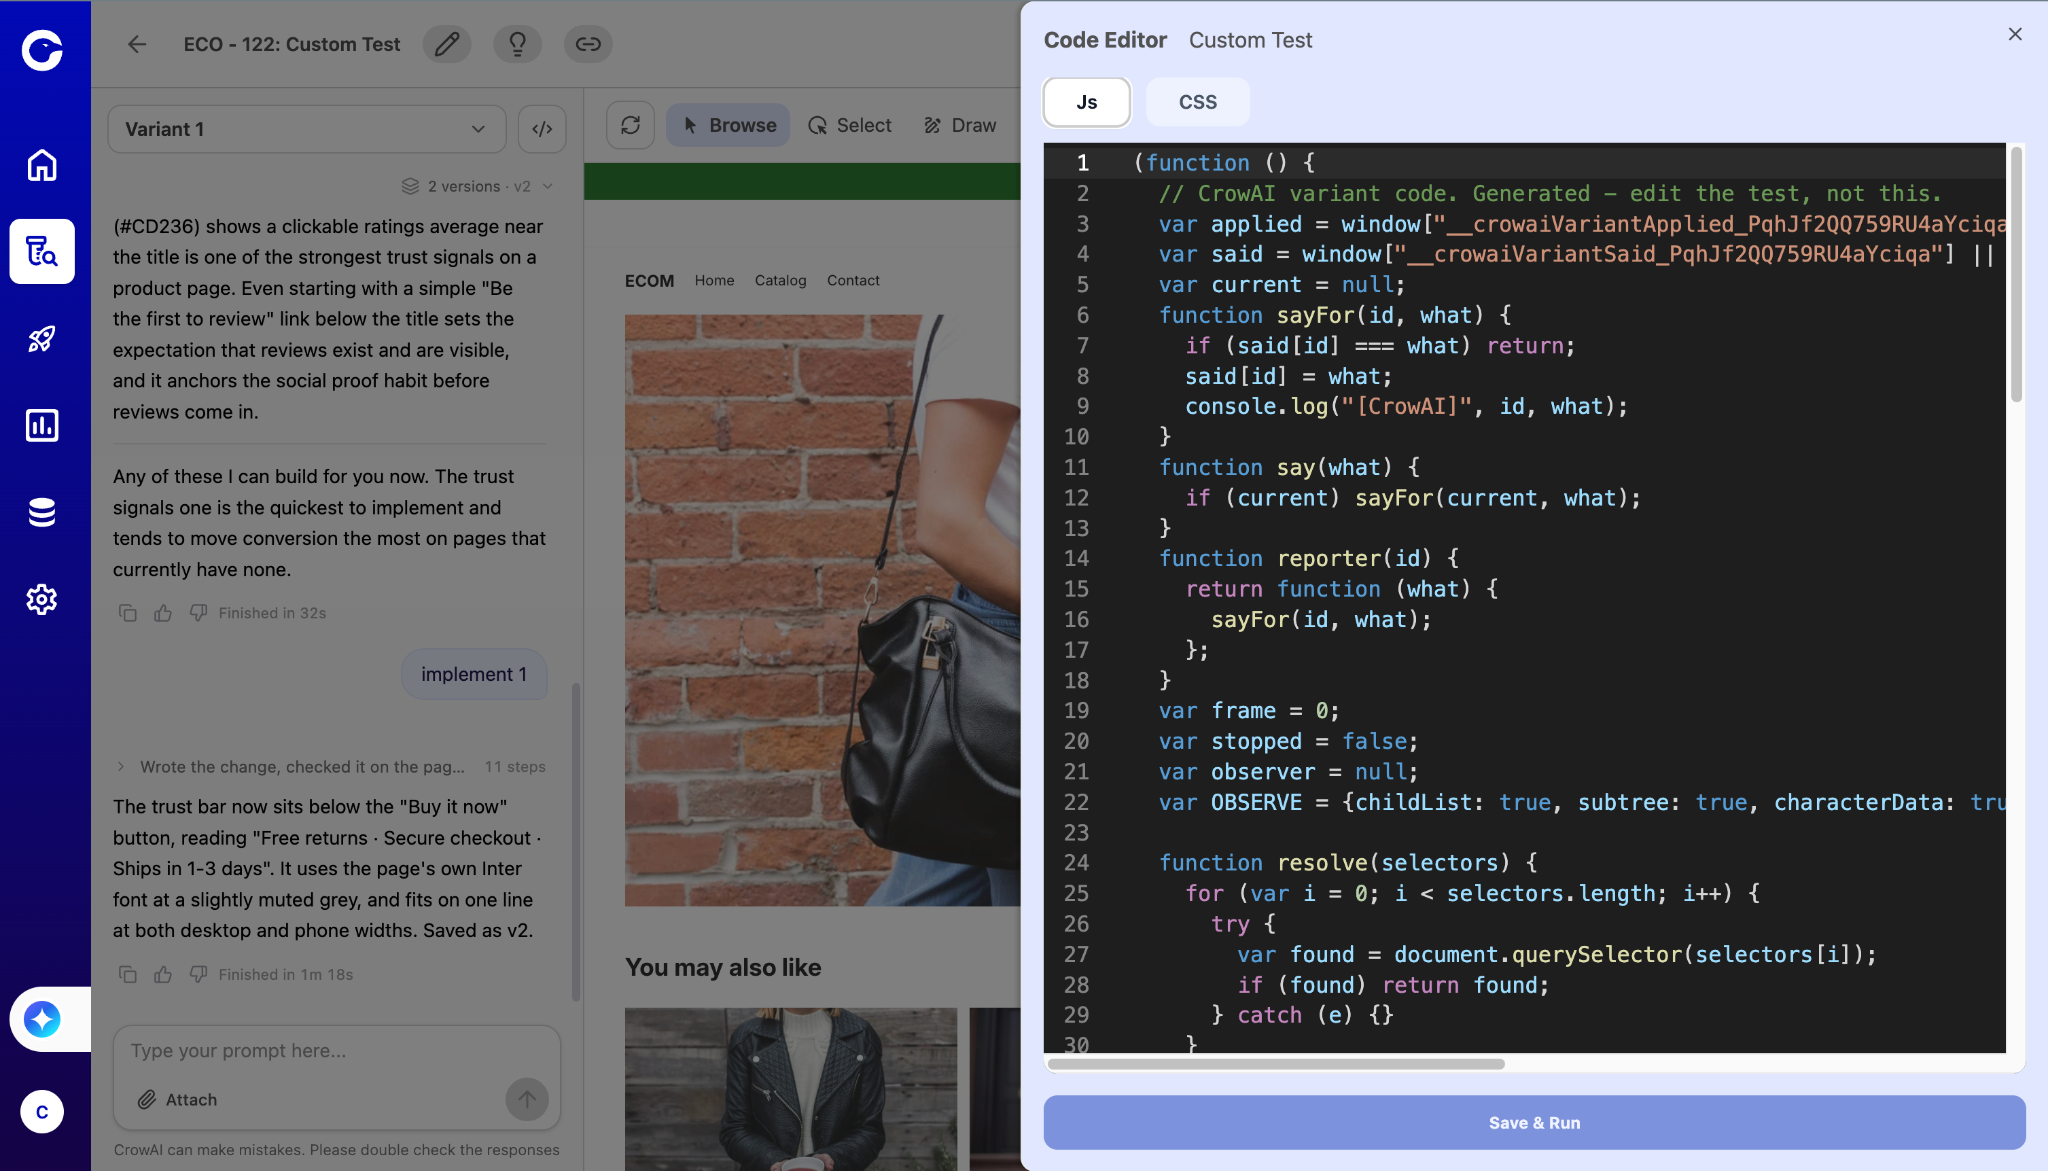
Click the </> toggle to open the code panel, then switch between JS and CSS.
Edit anything you like and click Save & Run to apply it.
If you've prompted a few times, each attempt is saved as a separate version.
Use the dropdown at the top right of the chat panel to switch between them.
Step 5 : Preview on other device types
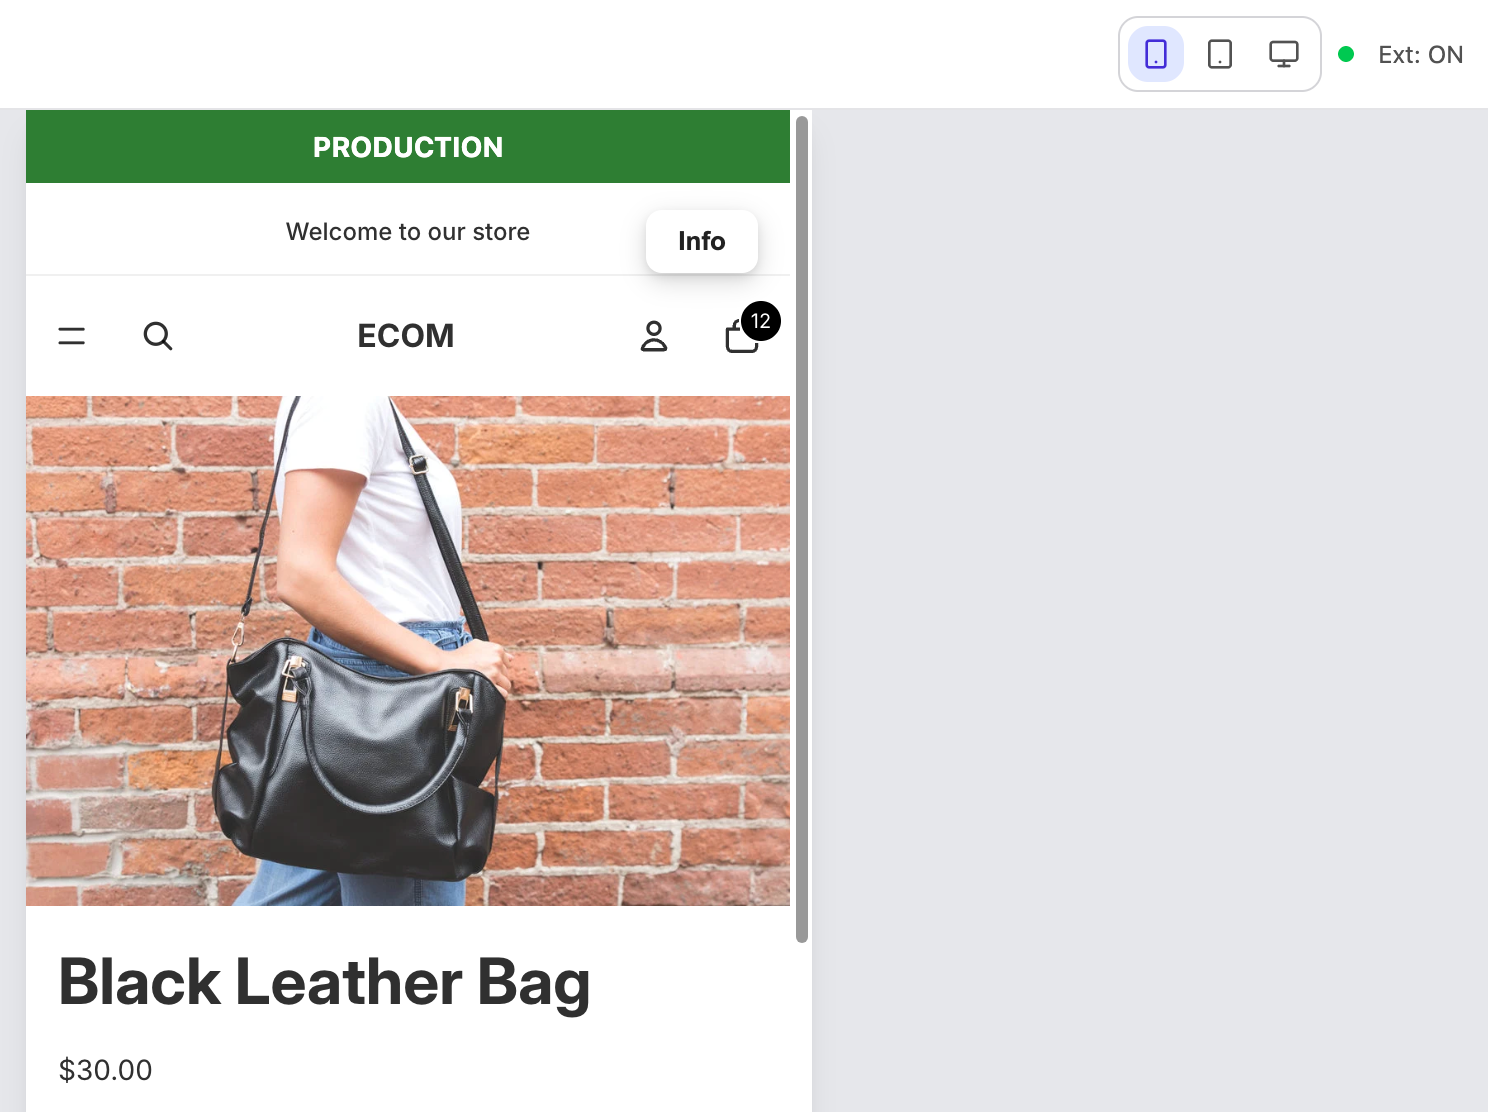
Use the mobile, tablet, and desktop icons at the top right of the page to check how the variant looks on different screen sizes.
Switching the preview doesn't change the generated code.
Step 6 : Create additional variants and launch
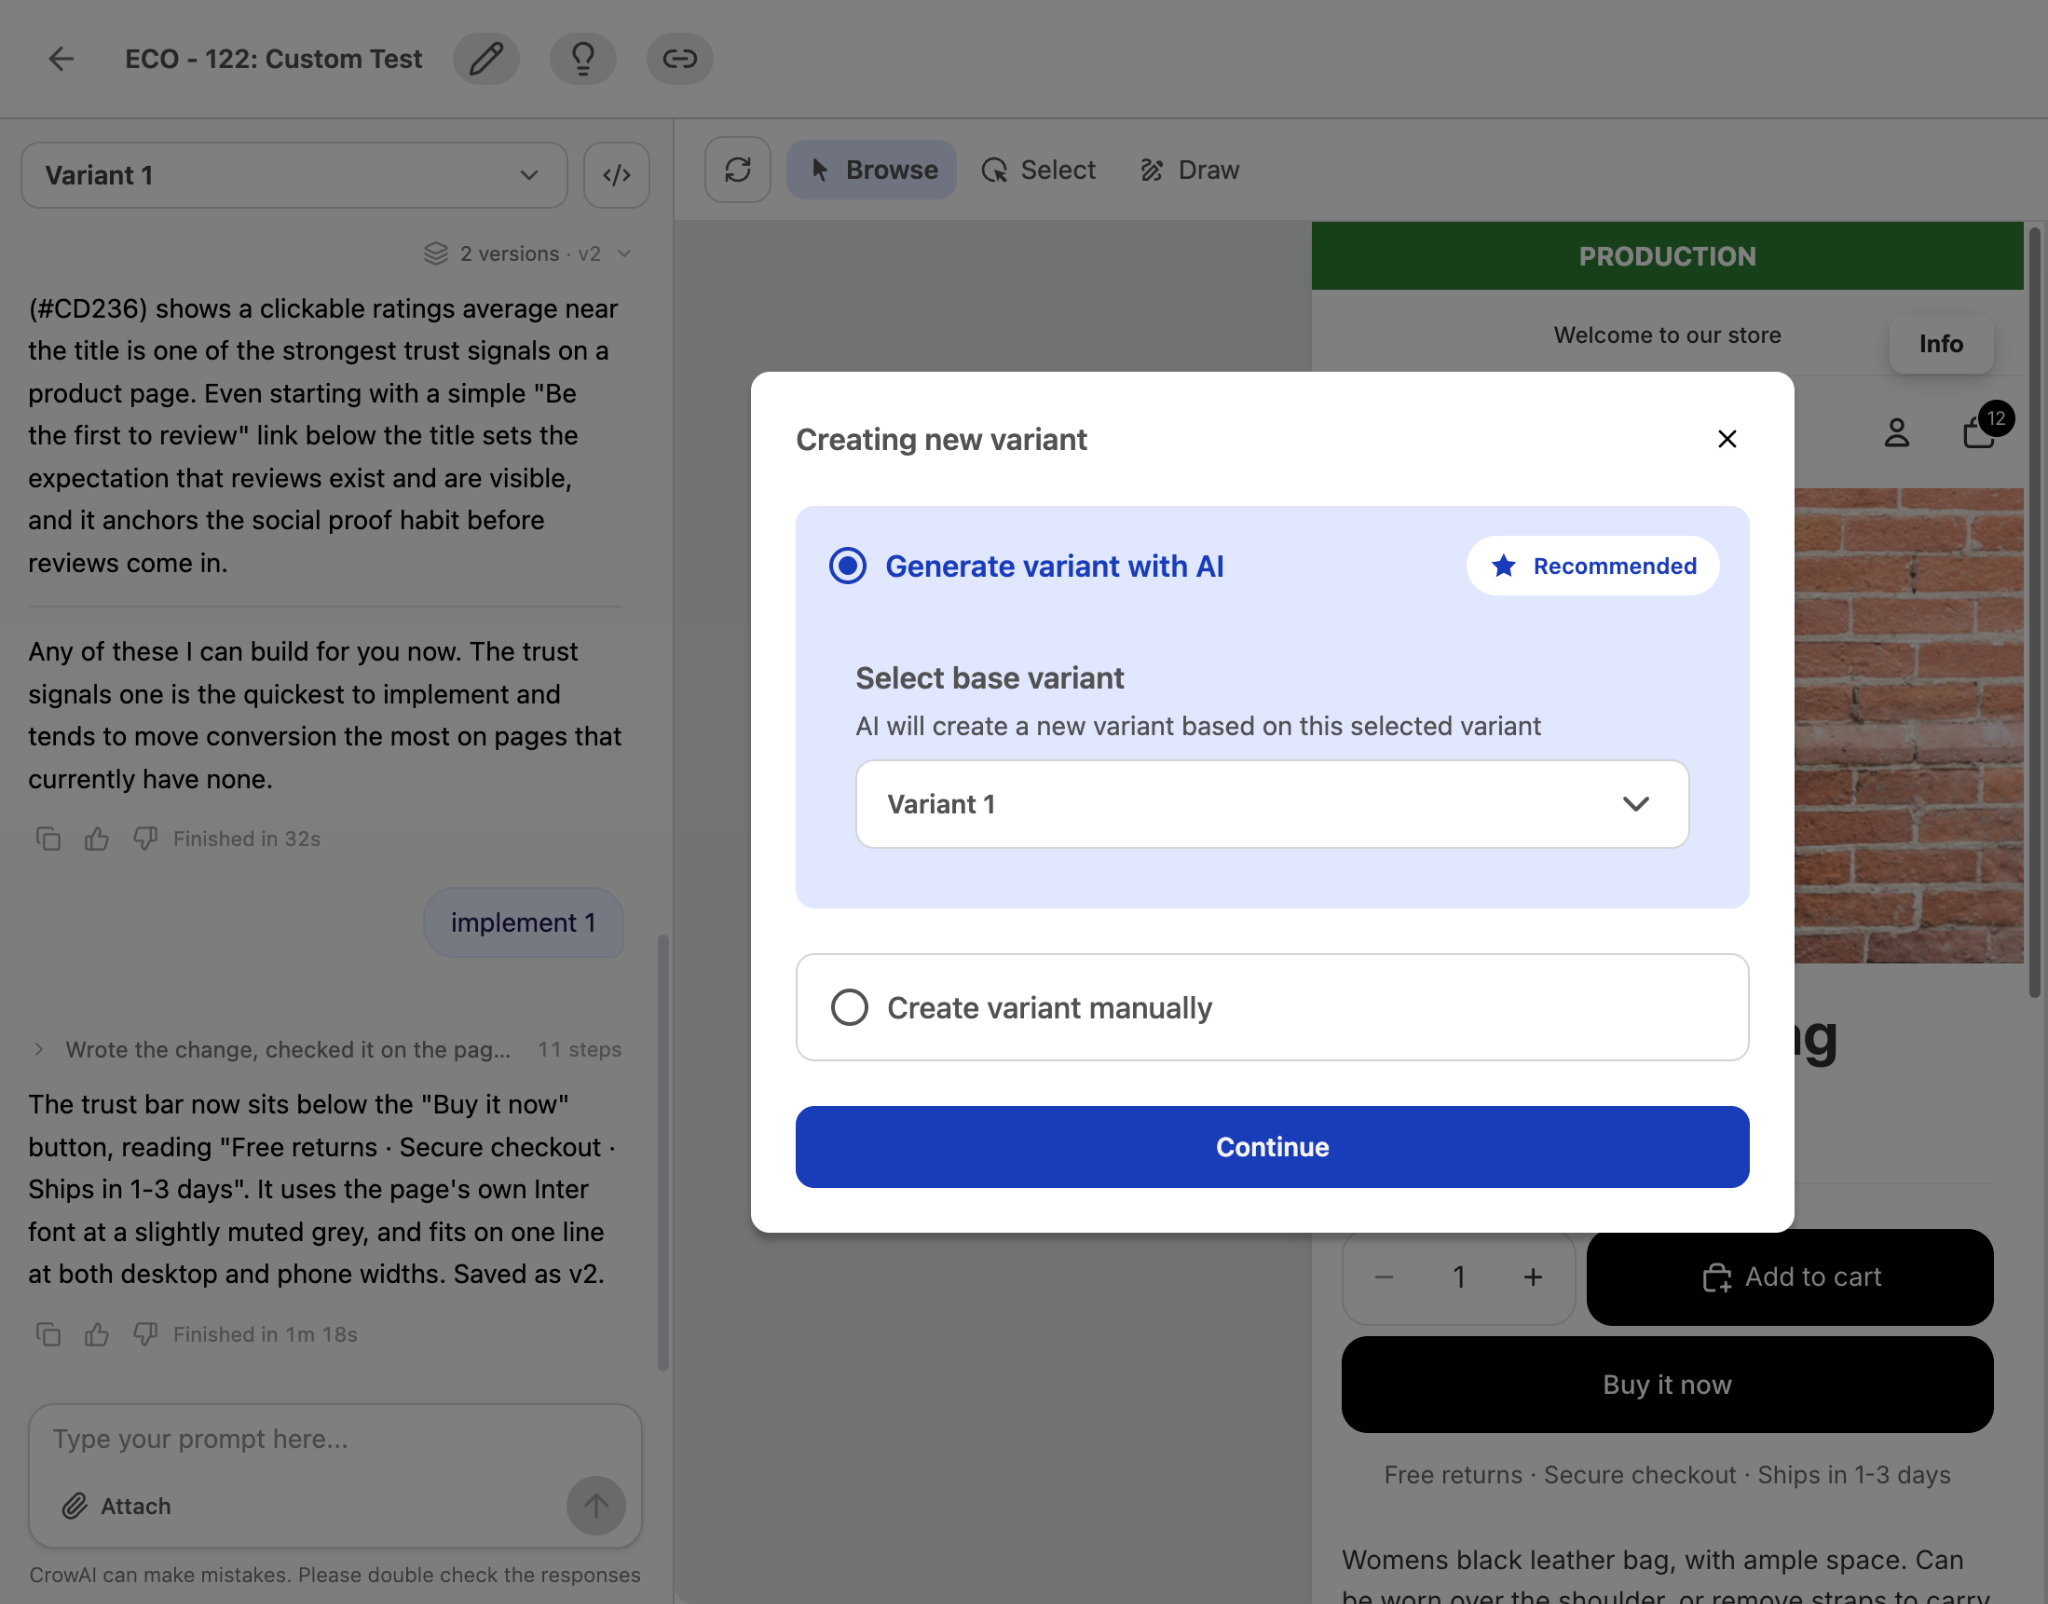
When your variant looks right:
1. Click Variant Dropdown > + Create Variant to add another. You can generate it with AI or build it manually.
2. Click Proceed to Setup to configure the test.
3. Launch.
That's it - you've built and shipped an experiment without writing a line of code!